
RECIPE NOTES
I tried so many hot chocolate recipes when I got on keto, and I hate to say it but most of them were chalky, lacked flavor, had bad ingredients, or wanted me to set up a double broiler. NOT TODAY MY FRIENDS. The hot chocolate is creamy and full of flavor. And we’re making it in the microwave! Although you can certainly make it stovetop if you’re wanting to make a big batch. This is a pretty forgiving recipe if you get the measurements slightly off.
Most of the premade hot chocolates I’ve found don’t really work for me. They use sugar alcohols which tend to give me an upset stomach or have weird aftertastes. Or just flat-out add brown rice(seriously why). Small shoutout to Primal Kitchen Collagen Fuel Chocolate Coconut for being the best hot chocolate premade mix if you want one. The ingredients are clean and it’s the one I drank for a long time before I figured this recipe out. The packets are great for a gift basket or on the go. But even that one tastes a bit off from your traditional silky high-quality hot chocolate because of the collagen.
For the #unsweetketochallenge I actually drink this pretty frequently with no sweetener at all. It took a little getting used to, but I think the cream and saltreally tempers the bitterness.
INGREDIENTS
- Unsweetened Baker’s Chocolate – The biggest thing to look for is that it’s unsweetened. You can generally find this in the baking aisle at the grocery store.
- Sweetener – Monk Fruit Drops are my goto sweetener for this recipe and most hot drinks. They’re low carb but not hard on your stomach like sugar alcohols can be. I actually weaned myself off of sweetener by using fewer drops over time and now I don’t even need sweetener to enjoy the hot chocolate.
- Heavy Cream – Get what you can afford. But if you can, get a heavy cream that is JUST cream and doesn’t have thickeners. Organic, grassfed, grass-finished, and humane are also nice-to-haves. Still, even the cheapest cream is better than eating carby junk!
- Butter – Get what you can afford. Organic, grassfed, grass-finished, and humane are nice-to-haves. Absolutely do NOT get butter substitutes made from unhealthy vegetable oils. The butter prevents the chocolate from seizing and burning while adding some depth to the flavor.
EQUIPMENT
- Microwave – Really, any microwave where you can see through the door will be good enough. But if you need a new one, The Toshiba Microwave+AirFryer+Convection Oven will save you a lot of counter space.
- Coffee Mug – Make sure it’s a microwave-safe mug. I really like owning a good set of stoneware mugs because they’re nonstick and very temperature resistant. So you can use them in the oven and they’re safe in the dishwasher. They’re cups that last. Glass mugs are another great alternative, and as a bonus they make for a really nice presentation. However, most glass mugs are not oven-safe.
- Spoon – Just a regular metal spoon. Don’t put plastic spoons into hot liquid. Don’t microwave metal.
PAIR WITH
- High Key Chocolate Chip Cookies – For a crispy low-carb premade cookie.
- High Key Blondie Brownies – Personally, I think regular brownies can be a little much with a rich hot chocolate. That’s where Blondie Brownies come in.
Optional Add-Ins
- A shake of Pumpkin Spice will give you a nice fall spice flavor.
- Want a peppermint hot chocolate? The easiest way is to use Food Grade Peppermint Oil. You could also probably use Peppermint Leaf Powder, which also avoids any potential bad oils. You could also use a bar of Peppermint Choczero instead of the unsweet baker’s chocolate, although it can somewhat affect the boiling/texture. You can use Peppermint Extract when you add the water, but the alcohol adds an unpleasant aftertaste since it doesn’t really cook off.
- Chili Powder – Add just a dash to get a kick of heat.
Microwave Easy Killer Keto Hot Chocolate
- 2 Squares Unsweetened Bakers Chocolate
- 1 tablespoon butter
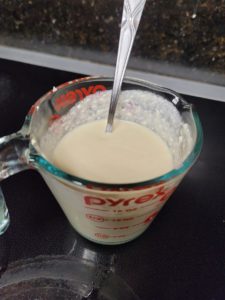
- 1/4th cup Heavy Cream
- Water
- Optional: Low-carb sweetener to taste (Such as Monk Fruit Drops)
- Optional: Pumpkin Spice or Food Grade Peppermint Oil or Chili Powder
- Reminder: Don’t leave the spoon in the cup, metal doesn’t go in the microwave!
- Place the chocolate and butter into a mug. Microwave 30 seconds.
- Stir the chocolate and butter until it’s fully mixed and smooth.
- Add the heavy cream. Stir a bit and wipe your spoon on the side of the mug but it won’t mix together yet.
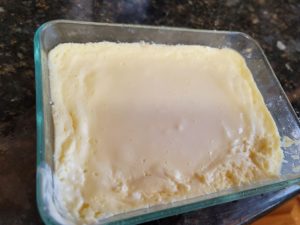
- Make sure you can see into the microwave. You’re going to microwave the cream until you see it boil up almost to the top of the cup and stop it. Usually about 1 minute.
- Stir about 30 seconds. You’ll notice the chocolate is now blending much more easily with the cream. Pressing the spoon against the side of the cup can help mix it better.
- Boil the cream almost to the top of the cup again.
- Stir until you get a smooth consistency (about 30sec – 1 min) with the chocolate and cream.
- Add water to fill the cup up the rest of the way.
- Microwave 1 minute.
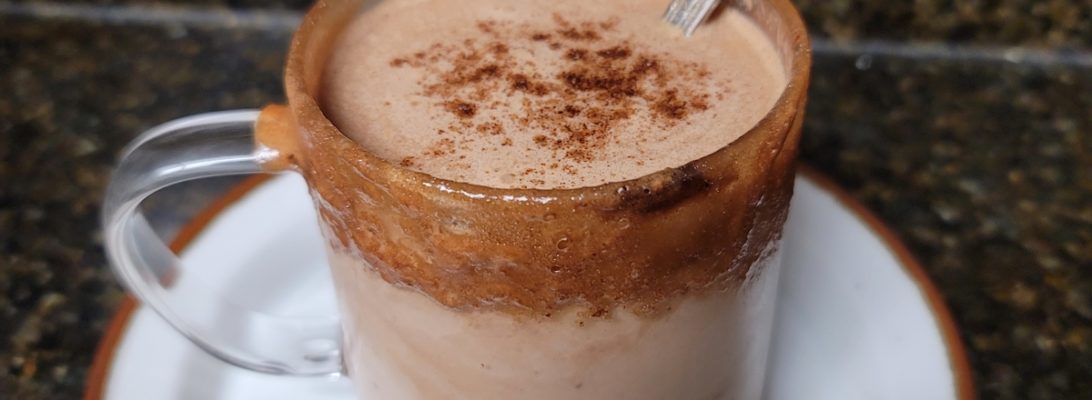
- Enjoy!