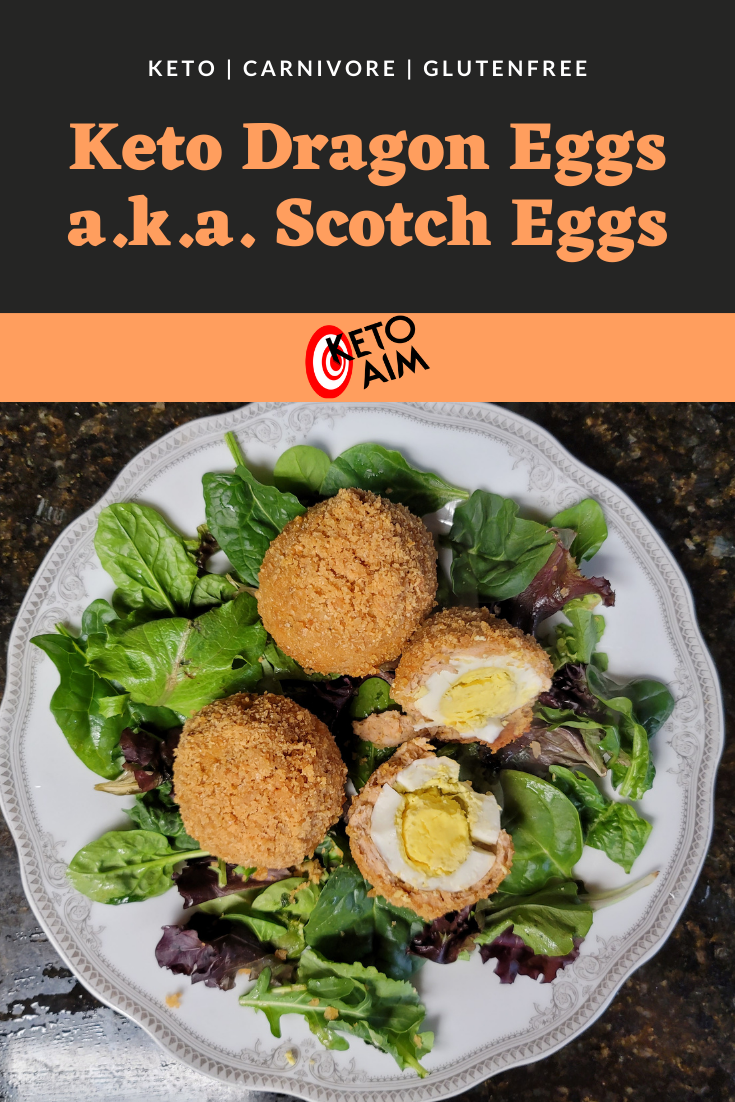
Keto Dragon Eggs a.k.a. Keto Scotch Eggs
This is a great dish for any kind of fantasy-themed event and laid on a salad you can easily imagine a nest of eggs from some far-off land. The first time I saw this dish was actually at Harry Potter World. I knew there would be sugar and breadcrumbs in the mixture but they looked great and I’ve been wanting to make my own recipe of it ever since!
Seasoning: You’ll want to avoid regular pre-packed breakfast sausage for this recipe as they almost always have sugar in them, but it’s quite easy to make your own spiced breakfast sausage. The pork panko in this recipe lends the crispiness you’d normally get from caramelized sugar in the sausage, although if you’re really craving some caramelized meat you could mix in some Brown Sugar Swerve into the pork with the spices. (However, I think it’s good to limit your sweetener, even keto ones.) There are onion flakes in this recipe, but a little goes a long way. Onions are fairly carby so if you decide to deviate from the recipe some don’t go too crazy with it.
Eggs: If you’re looking to save some time and effort you can buy hardboiled eggs from the store instead of boiling and peeling them yourself. My local Costco sells them in large packs. Egg boiling time can vary based on the type of eggs, size, altitude, and various factors. Play with the time if you need to in order to get them as you like and then write down that type for yourself. A slotted spoon will help you remove the eggs safely from the hot water. I’ve found a pound of ground pork covers roughly 8 eggs, but if you have a dozen go ahead and make them all so you have some regular plain hard boiled eggs. They’re a great keto snack on their own and can be used to make devilled eggs or egg salad. It also helps if you end up peeling an egg a little too forcefully and it falls apart, you can save the nicer eggs for the scotch eggs.
If you’d like to find GREAT eggs and pork I highly recommend www.eatwild.com to find local farms with focus on humane practices, sustainability, and human health.
This recipe is also a great one for those of you doing carnivore, though you may wish to leave out the seasoning depending on strictness. It’s really just eggs wrapped in meat and cheese. And of course, you’ll probably want to skip out on the salad.
Keto Dragon Eggs a.k.a. Keto Scotch Eggs
Equipment:
- Oven
- Stove
- Slotted spoon to take eggs out of water
- Saute Pan with lid to boil eggs
- Cookie Sheet
- Aluminum Foil
Ingredients
- 8 Eggs
- 1lb Ground Pork (Unseasoned)
- 1 tablespoon Paprika
- 1/2 teaspoon Allspice
- 1 teaspoon Salt (Recommend Redmond’s)
- 1/2 teaspoon Red Pepper Flakes (Black pepper would work too) (Or more to preference)
- 1 teaspoon Onion flakes
- 2 teaspoons Italian Seasoning
- 1 tablespoon Brown Swerve (Optional)
- 1/2 cup parmesan cheese
- 1/2 cup Pork Panko
Hard boiling the Eggs
- Place the eggs into a saucepan or saute pan and fill with cold water until there’s about an inch of water above the top of the eggs.
- Place the pan on medium heat on the stove to bring it to a rolling boil (lots of big bubbles that come to the top). As soon as it comes to the boil cover it with a lid, turn off the stove but leave the pan there. Let it sit on the hot eye for 10-12 minutes. Remove eggs from hot water with a slotted spoon and put them into a bowl. Set the bowl in the sink and let cold water run over the eggs for a minute. This will make the eggs cool enough to peel.
- Peel the hardboiled eggs carefully and set them aside on a plate.
Turning them into Scotch Eggs
- Preheat the oven to 375F.
- Line your cookie sheet with aluminum foil.
- Pour the parmesean cheese and panko pork rinds into a corner of the cookie sheet and mix them together. This will be the outside crust of the scotch eggs.
- In a large bowl mix the ground pork, paprika, allspice, salt, pepper, onion flakes, Italian seasoning, and (optionally) the brown swerve. Wash your hands thoroughly and use a hand to blend the meat with the spices until the spices are evenly distrubuted through the meat.
- Flatten the meat in the bowl, then use your hand to draw a line down the middle. This will cut it in half. Do it again across to divide the meat into 4ths. Then again to divide it into 8ths. You’ll have a section of meat for each egg.
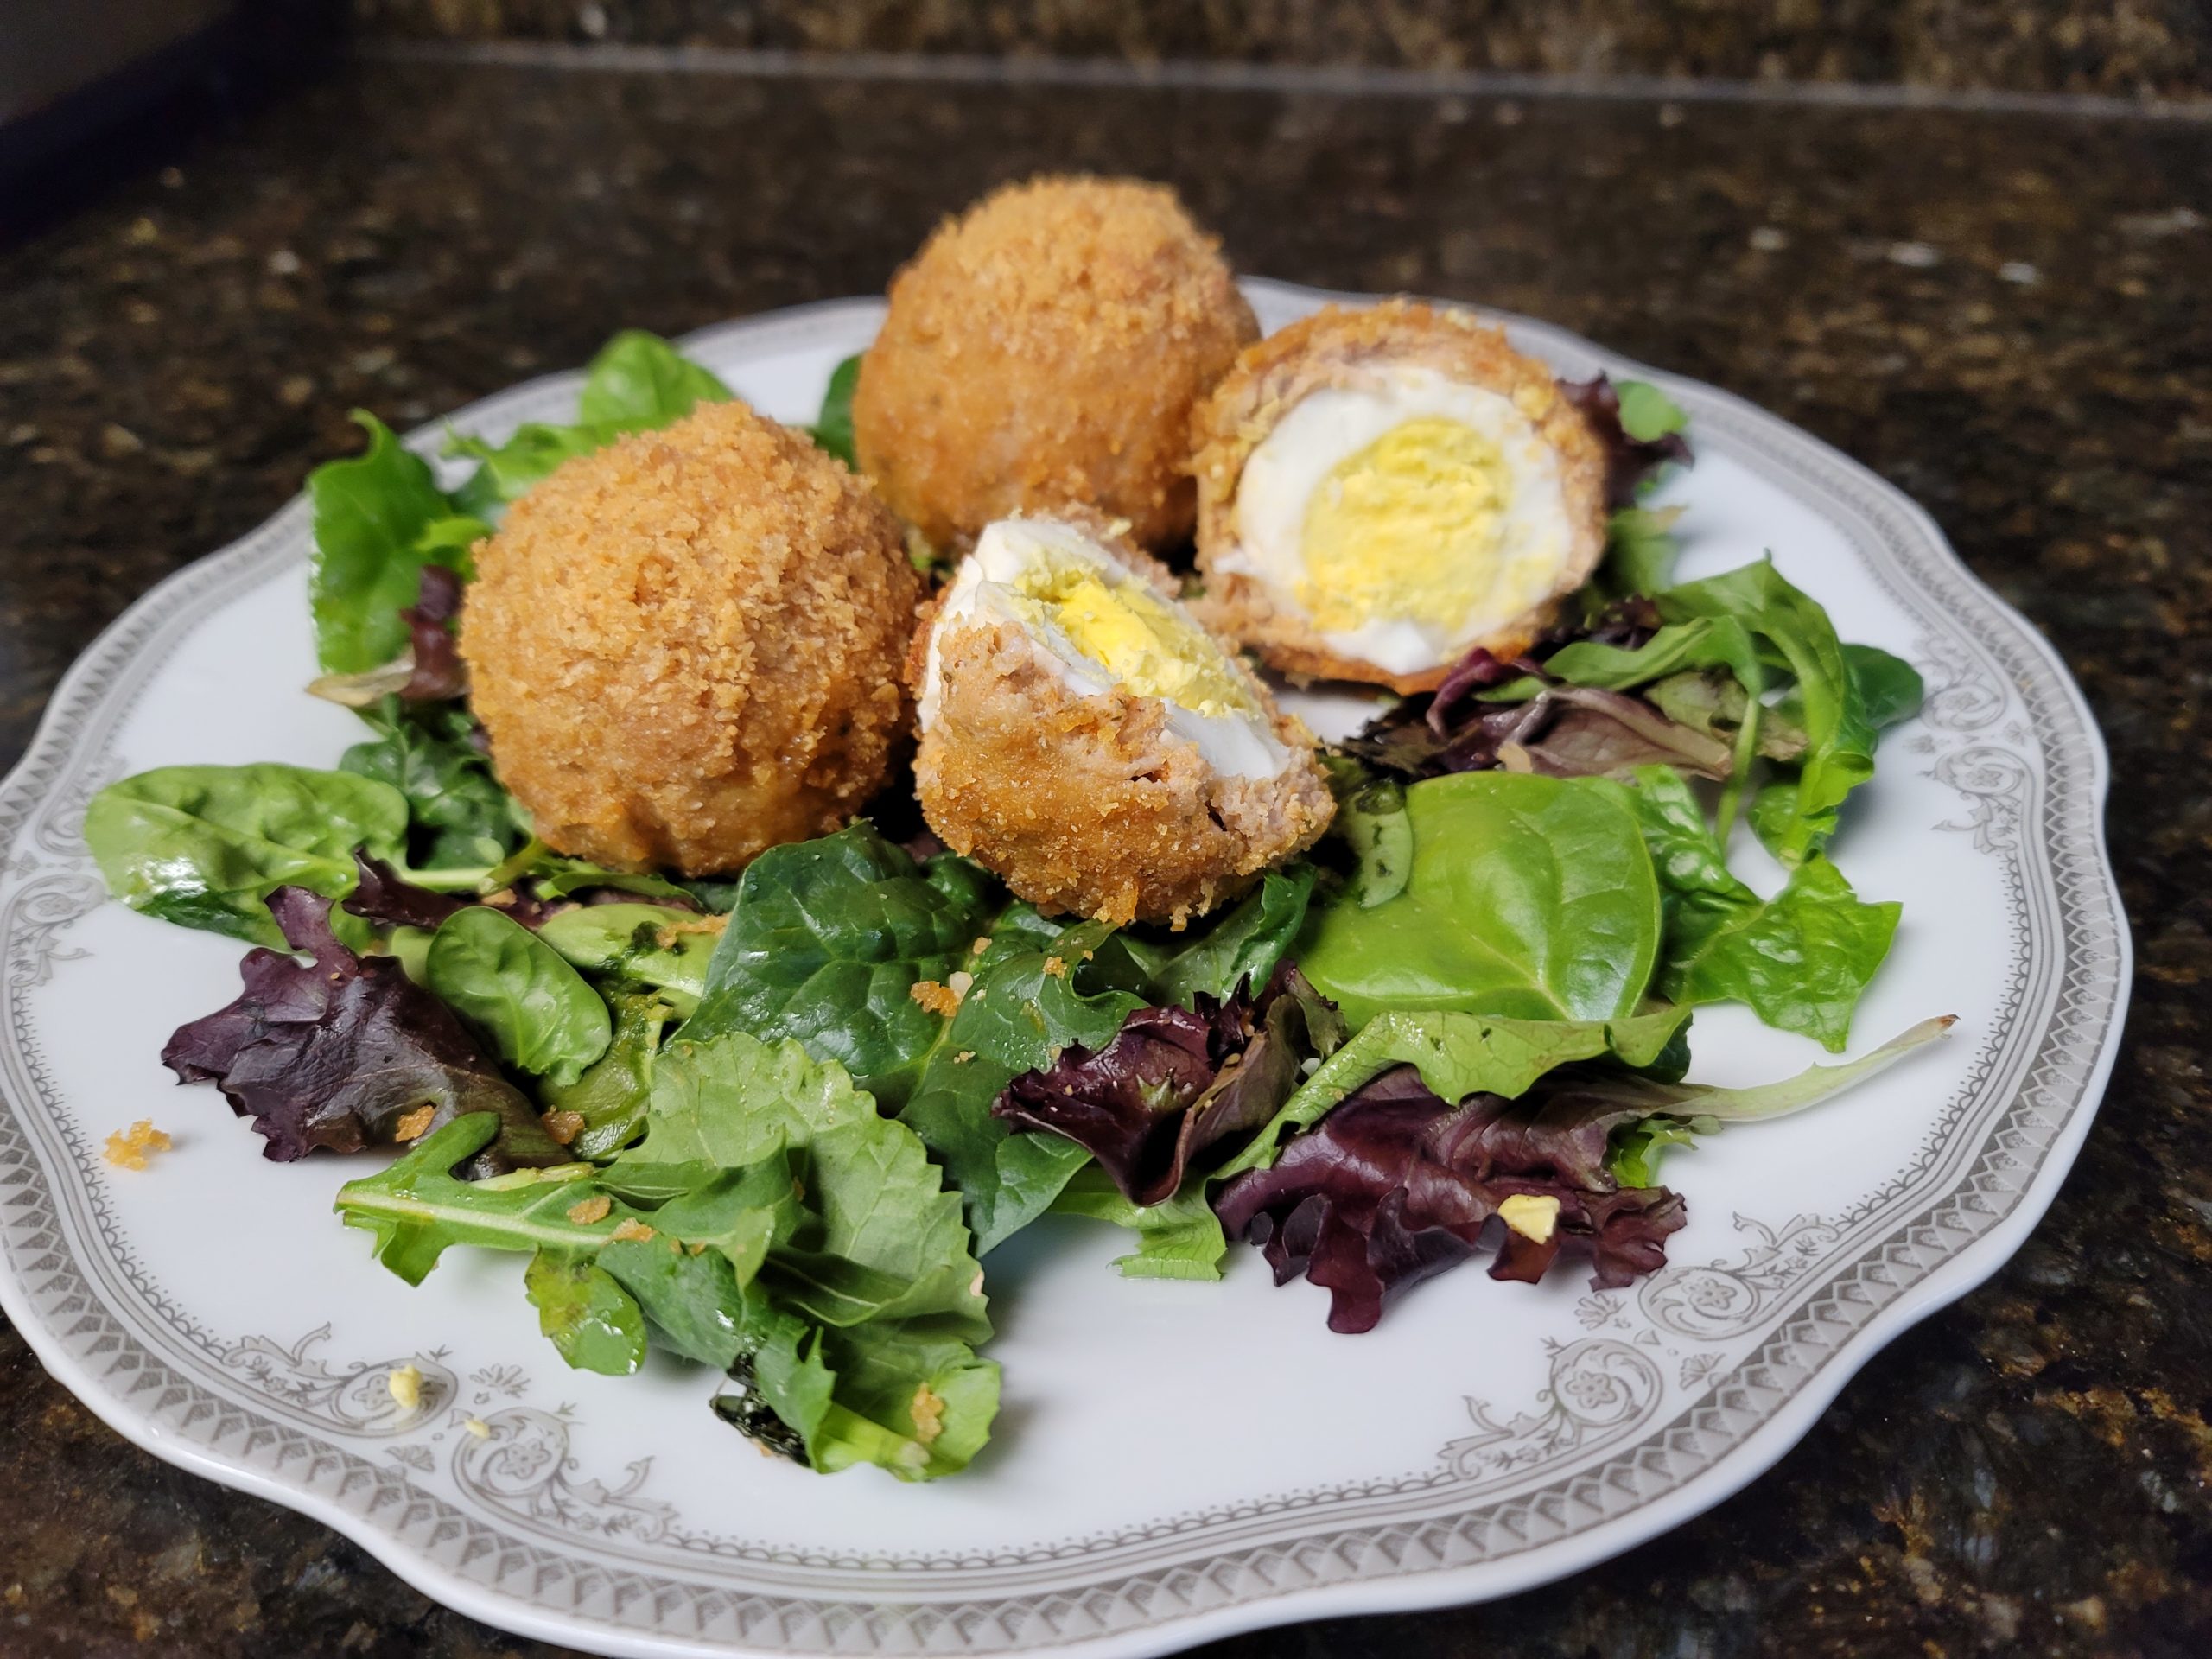
- Take a piece of the divided meat and flatten it in your palm. Try to keep it evenly flattened. Then wrap it around a hard boiled egg. Carefully roll it between two hands to make a ball and evenly distrubute the pork around the egg. You can also use a pinching motion to pull the pork where it needs to go to cover the gaps. You shouldn’t be able to see any of the white hardboiled egg when you’re done, it will just look like a pork ball.
- Place the pork ball into the parmesean/pork panko blend and roll it around until it’s fully covered in the crumb mix.
- If you’d like it to be a little more “egg” shaped instead of a ball you can roll it on it’s side a little to elongate the egg shape. (Not really necessary though, it’ll taste the same! I don’t bother.)
- Repeat for the rest of the eggs. If you have leftover crumb mixture you can try to roll the eggs in it with a little more pressure so it picks it up. And/or sprinkle it on top.
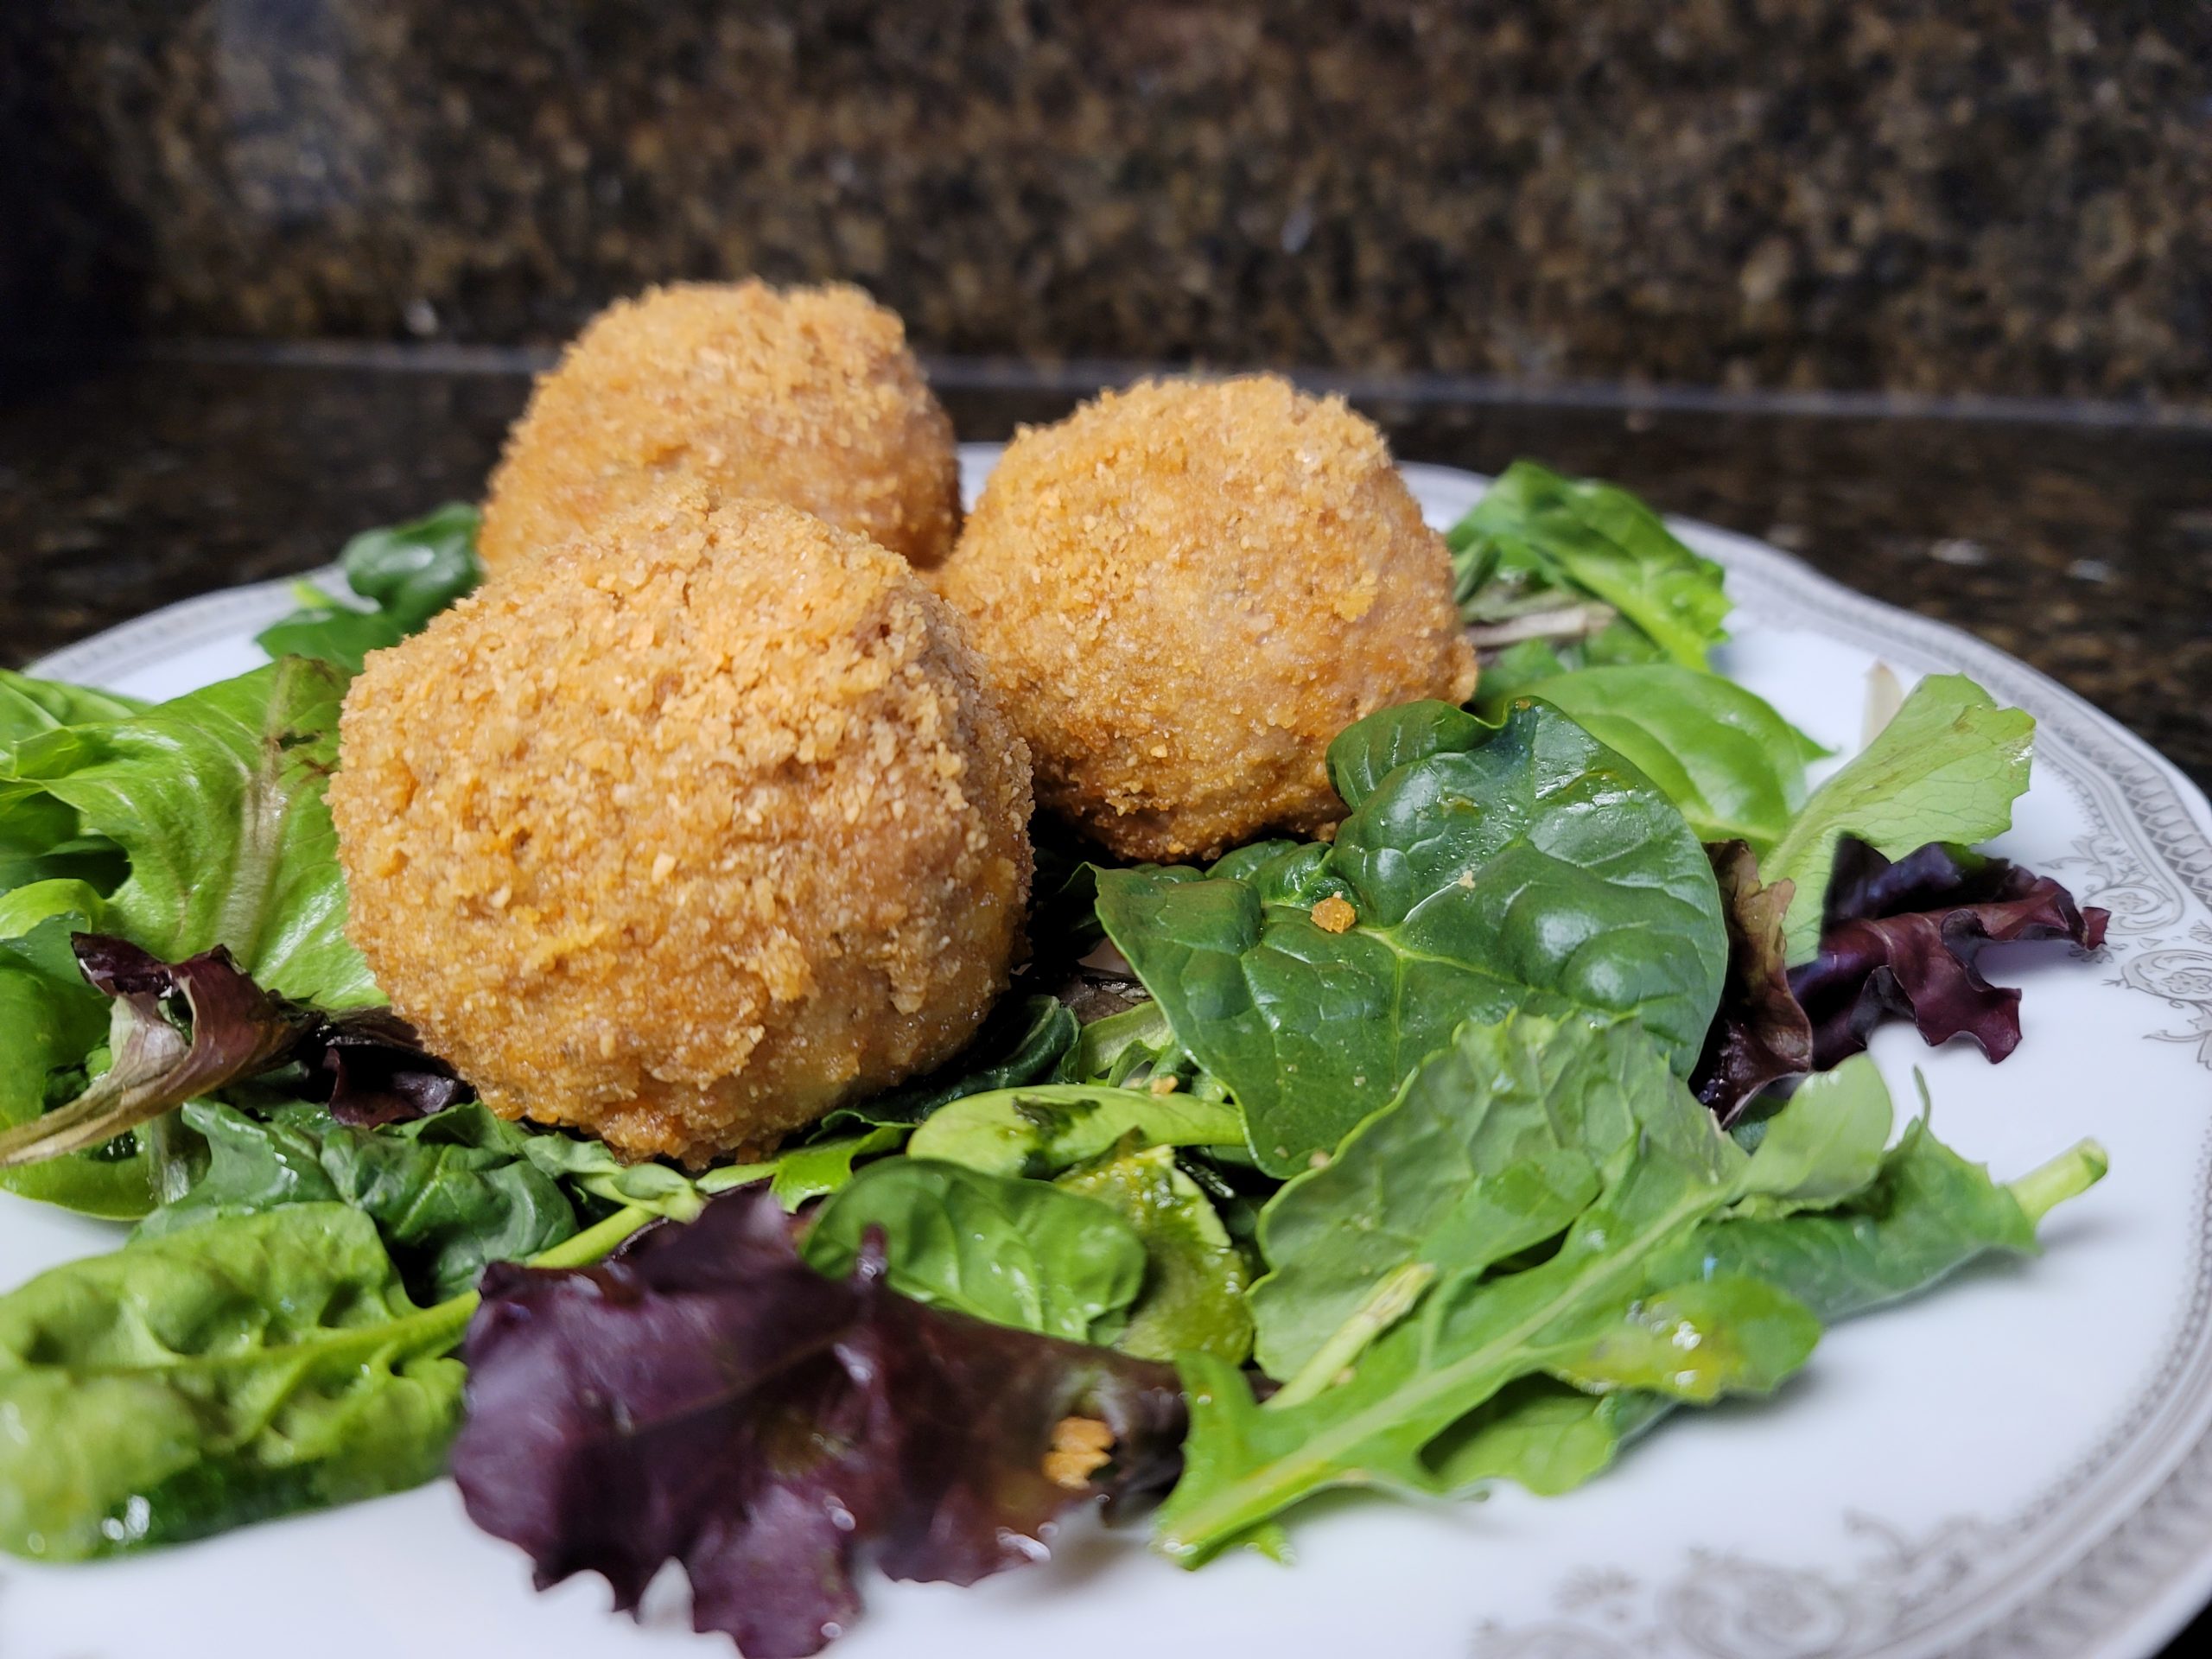
- Bake in the oven for about 30 minutes. Time will vary based on your oven but you’re looking for a nice toasted brown to the crumb coating outside.
- Enjoy on a bed of fresh salad. I really like a 50/50 salad with either mustard on the side to dip the eggs into or a nice sweetish dressing on the salad like Primal Kitchen Balsamic Vinegarette, Primal Kitchen Island Teriyaki, or even Primal Kitchen Honey Mustard (careful with carbs on this one).